OK guys, last day of the year. Time for a recap from me – Rens Hollanders. 2013 has been a interesting year for me. A year which I have started on most of my blogs (since I started with blogging somewhere back in 2010). Also a year I have gained more knowledge and worked with Microsoft Deployment Toolkit then ever before…
But before all of this became so interesting to me, I started the year in mourning over the loss of a family member who was very dear to me, my uncle Wil (Willem), who unfortunately died at the age of 55 one week before 2013. Although losing someone who is dear to you is never a great experience, since it causes much sorrow and grief. The positive thing about it, is that it has brought our family closer to my experience then ever before. Something I will cherish from this day on.
Kicking it of on TechdaysNL (7 & 8 March) The Hague, was a very inspiring moment for me, when first meeting Johan Arwidmark in person, known for his deployment blogs: http://www.deployvista.com/ and http://deploymentresearch.com/
Johan inspired me to commit myself more on the topic of Operating System Deployment, and through my own experiences, you can now read my practical experiences on the things I encountered and have dealt with.
2013 Was also the year I followed the didactic course which allowed me to subscribe myself as an Microsoft Certified Trainer. Having this title means, that I may teach and explain the topics which are in my area of expertise and I have a Microsoft Certificate of.
The great thing about becoming an MCT is that it enables me to carry out my enthusiasm for the products I work with, to hopefully inspire other people to do the same. Also it enables me to get trained better at speaking with people from all levels of the (IT) society; talking alignnone stuff to a tech guy, and talking fluffy-talk to managers and the board requires empathy and the ability to translate the things you want to say or explain each on a different level and angle.
I often have coffee breaks with a colleague of mine who is a IT architect, to talk about the ‘this and that’ of IT, and to my personal opinion IT is about 40% technique and 60% communication. Something I will always have in the back of my mind when talking to people, and I would like to give the same advice to whomever this is reading.
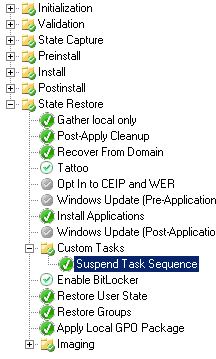
2013 Was also a year I became overly active on social.technet.com, especially on the MDT forum part. Having more replies then ever before and more answers then ever before, this is a part of my contribution back to the community. Helping people out when I’m trying to reach the top of the league myself, is something I can only see as the appropriate thing to do. Giving back to the community, as much as I can, as much as is relevant.
As for my own website, these where the most read articles in 2013 (since I started tracking with Google Analytics):
- MDT 2012 Settings for fully automated LTI deployment, Part II: Customsettings.ini 8259 hits
- MDT 2012 Settings for fully automated LTI deployment, Part I: Bootstrap.ini 3745 hits
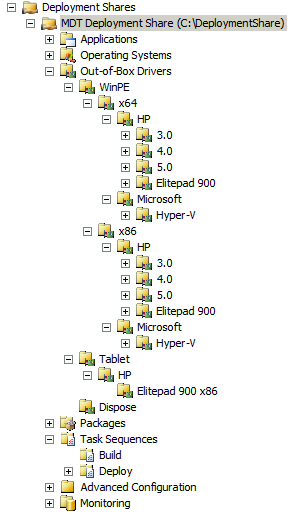
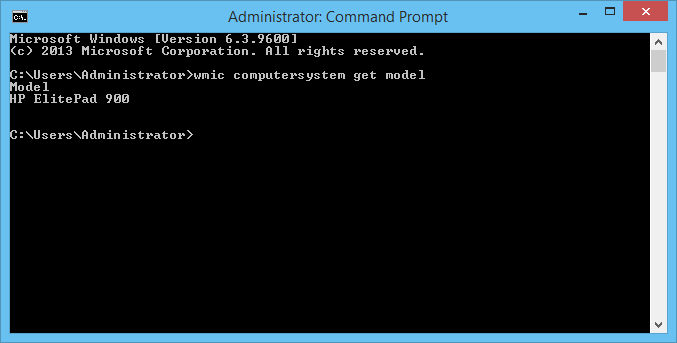
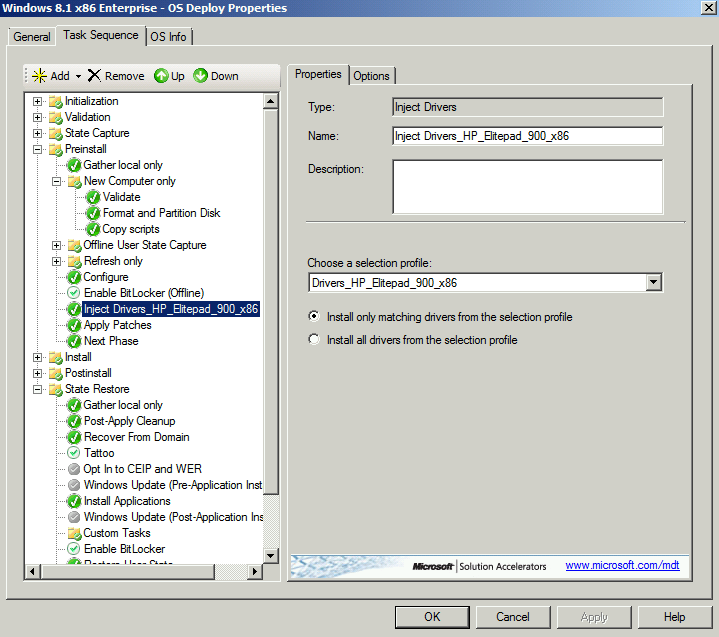
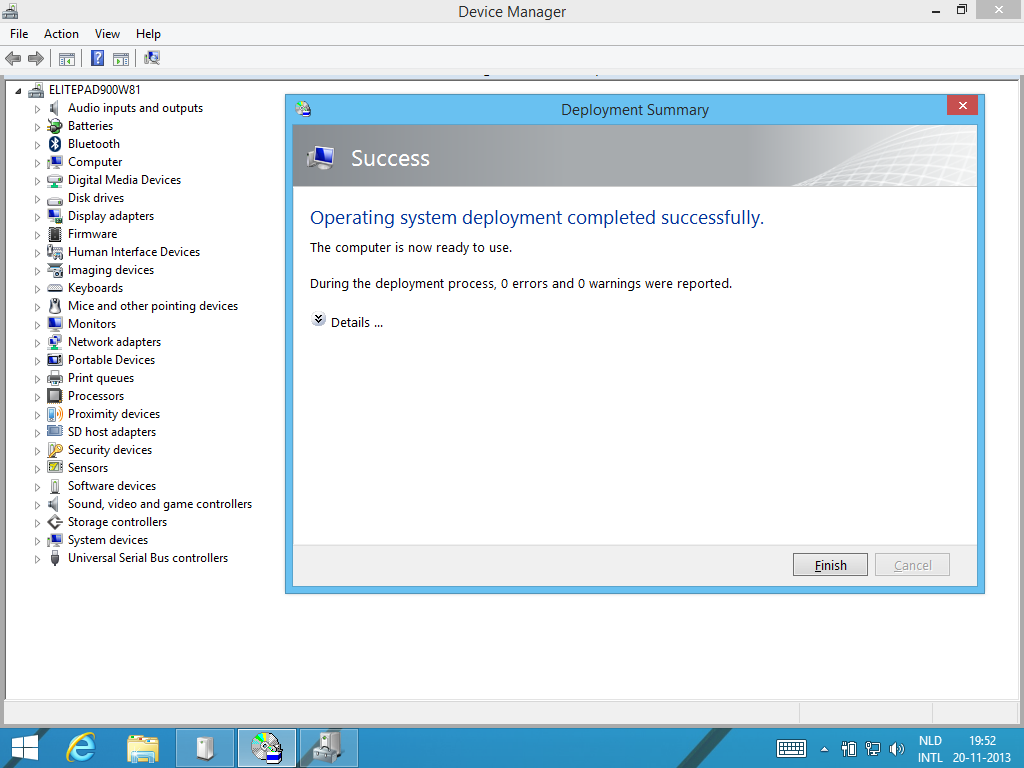
- MDT 2013 – Deploy HP Elitepad 900 using the HP Expansion Jacket, HP Dockingstation, MDT2013, WinPE 5.0 and ADK 8.1 2367 hits
- SCCM / MDT: identifying SSD’s from your Task Sequence by Windows Performance Index! 2155 hits
- MDT 2012 – Creating those nice round figured Hard Disk partitions! 1528 hits
Thank you all for visiting my site, I hope you all enjoy reading the material that I’m posting, and any feedback or reaction will be appreciated!
But it isn’t all about technology, I do have a life outside MDT 🙂 As some of you may know I’m a music fanatic, enthusiast who loves to listen to music all day long, talk and discuss about it and visit as much as concerts and festivals that I can possibly do in my spare time. (Not that I’m so busy with working all the time, but visiting concerts during the weekdays is really exhausting)
In 2013 I visited 16 different venues, differentiating from concerts (mostly) and festivals. The ones that have left a permanent stain on my retina are:
- 2013-01-05 DeWolff @ Effenaar, Eindhoven
- 2013-02-18 Jacco Gardner @ 013, Tilburg
- 2013-05-30 Wolf People @ Doornroosje, Nijmegen
- 2013-10-25 Alter Bridge @ Ancienne Belgique, Brussel
- 2013-11-14 Touché Amoré @ JC de Klinker, Aarschot
- 2013-12-06 Di-Rect @ Niewe Nor, Heerlen
- 2013-12-20 Orgel Vreten @ Tivoli Utrecht
I experience visiting concerts and listening to music as the balance I need to perform in my day to day work. Enjoying the performance of one or more artists at a venue, experiencing the exuberance when a crowd goes crazy. Witnessing those epic long jams certain songs develop into when you are at a concert. Something you will never ever hear on their album, just makes it all worth while to travel almost the entire country to see the bands that I like.
Also I gain more and more, and new music from almost every thinkable source out there. A TV commercial, music which is played before the beginning of a venue. Music from a game that I’m playing, it doesn’t matter. If I like it, I always go on a little exploration for ‘more where that came from’.
Then there is one more thing about me and music, I collect records, and I can say that for the last part of 2012 and the first part of 2013, I have never bought as much of music (on Vinyl) as I did ever before. My collection of records grew to a staggering 313 records and 76 cd’s, with small and large gems as:
- Queens of the Stone Age – … Like Clockwork
- Arcade Fire – Reflektor
- Touché Amoré – Is Survived By
- Nick Cave & The Bad Seeds – Push The Sky Away
- National, The – Trouble Will Find Me
- Efterklang – Piramida
- Wolf People – Fain
- Daughter – If You Leave
..And many many more.
What 2014 will bring, no one knows, as long as it will bring health, luck and love to the people that are most dear to you and me. Besides that I hope to continue to do the things that I love, which is working with technology and advancing my career in the way I have done for 2012 and 2013!
Happy new year, and the best wishes to all of you!